Roof by footprint can be used for both flat and sloped pitched roofs.
Revit attach beams to inside of roof.
Automatic beam system creates a layout that is used to control the number and spacing of a series of parallel beams.
Draw the roof or floor element.
You need to create the bay window roof separately.
This is the easiest way to do it.
You cannot join a roof to more than one top face of another roof.
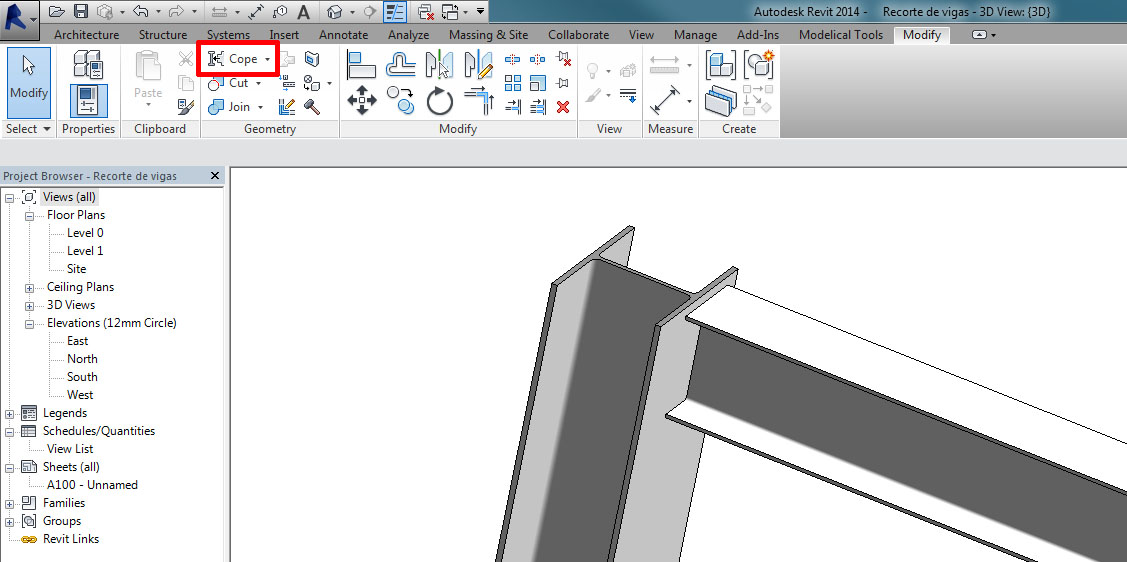
I believe this tools are not design for this purpose.
To attach a truss 1 verify that roof and structural floor visibility is turned on in the current view.
Cancel cancels an action.
Tile this view with the plan view at the level of the beam system.
Using shape editing tools.
You can join roofs to other roofs or walls or unjoin them if they were previously joined.
Add to group adds elements to a group.
Aligned dimension creates an aligned dimension.
In the plan view go to the home tab work plane panel and choose set.
Revit structure placing beams on a sloped plane you will first need to create the sloped named reference plane see video here.
This is a general.
Then choose attach top base 2 and finally select the roof 3.
Revit then makes the wall meet the underside of the roof correctly.
These are some of the various process i ve been using in revit.
You can join a roof to the top face of another roof and the wall below that roof if you select the wall as the target.
There are a lot of things to consider when align beams to.
I then drew a second roof with a 7 1 2 thickness on the inside of the first by using pick walls with extend into wall to core checked on and no overhang.
My final step is to clean up the intersections.
We can use the same attach top base tool to tidy up this junction.
Select the element and choose modify sub elements.
But i m not really sure if this is a best practice.
Attach detail group creates an attached detail group.
Once again select the wall first 1.
Open a section or elevation view showing the roof floor.
2 select one or more trusses to attach.
Sloped reference plane next go to a view where you can see all of your columns i generally use the site plan view for this you will want the columns placed prior to placing your beams.
Select the wall and use the attach top base button to attach it to the underside of only the 5 1 2 roof.