Revit Cut Extruded Roof
How To Cut A Hole To A Roof Revit Lt 2018 Autodesk Knowledge Network

Solved Cutting Roof Mullion Profile In Revit Autodesk Community Revit Products
Create A Dormer Opening In A Roof Revit Products 2018 Autodesk Knowledge Network

Revit Tutorials Roofs Youtube

Revit To Indesign Indesign Bim Diagram

Revit Architecture Roof By Extrusion Bimscape Com Imagens Revit

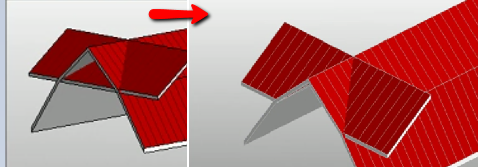
The bad thing about extruded roofs is the fact you can t follow along with the footprint of your building the good thing is we can do something about that the objective of this video is to go to the plan view we will then create a void where our walls jag in and out this is going to allow revit to cut the roof properly in plan to get started jump into your revit roofs.
Revit cut extruded roof.

Solved Roof Is Drawn Higher Than Level Placed At Autodesk Community Revit Products

Revit Roof Basics 04 Intersect By Roof Join Cadclips Youtube

Solved Joining Roofs Higher Roof To Lower Roof Autodesk Community Revit Products

Solved Curved Mansard Roof Autodesk Community Revit Products
Source : pinterest.com
